AI-Power für Ihr Business: Beschleunigen Sie Ihren Erfolg mit Acceleraid
Von Datenintelligenz über präzise Segmentierung bis hin zur Hyperpersonalisierung – Entfesseln Sie das volle Potenzial Ihres Business mit unseren AI-basierten Lösungen
Live erleben


Unsere Produkte:
Alles, was man für den digitalen Vertrieb und Marketing mit AI braucht.
ACCELERAID hat alles, was Sie brauchen, um Ihre Kundendaten optimal zu nutzen. Schalten Sie den AI-Accelerator einfach dazu. First Party Daten einfach hochladen, Zielgruppen segmentieren und personalisiert ansprechen.


Unsere Referenzen
„Acceleraid ist ein Partner, der uns durch hohes Fachwissen und hohe Umsetzungsgeschwindigkeit überzeugt, so dass wir sowohl in der Neukundenakquise als auch im Bestandskundenbereich durch die KI-gestützte Optimierungslösungen neue Wachstumspotenziale erschließen und Prozesse automatisieren konnten. Die Zusammenarbeit ist geprägt durch eine sehr kurze Time-to-Value, die ersten Personalisierungen entlang des Customer Lifecycles waren nach 4 Wochen live.“
Dr. Thomas Christen Head of B2C Growth & Marketing
“Mit Acceleraid steigern wir seit 2013 deutlich die Effizienz unserer Online Marketing-Maßnahmen im Kreditkarten Bereich und erzielen über 25% höhere Conversion Rates durch die Optimierung mit künstlicher Intelligenz.“
Sinisa Preradovic Head Digital Marketing | Senior Director
“Mit Acceleraid können wir Kampagnen sofort out-of-the-box durchführen und die Konvertierung von Neu- und Bestandskunden automatisieren. Wir sparen die gesamte manuelle Arbeit und unser Team kann sich nun auf das Erstellen von Business Cases konzentrieren. Die Software führt die Kampagnen durch und lernt automatisch, was funktioniert und was nicht.”
Anna Raedler Hanseatic Bank
"Mit der Adtelligence-Software können wir flexibel die Inhalte der Landingpages für unsere Produkte personalisieren und so die User Experience verbessern. Dies führt nachhaltig zu einer höheren Conversion Rate und Umsatzsteigerung."
David Mitijuk S Broker AG & Co. KG
"Mit Acceleraid konnten wir innerhalb kürzester Zeit einen signifikanten und nachhaltigen Uplift von 20% generieren (Zahnzusatzversicherung 2015).”
Martin Ingignoli Barmenia Versicherungen
“State-of-the-art Personalisierung durch Nutzung von Algorithmen, flexible und schnelle Projektumsetzung und eine fachlich tolle Beratung zu E-Commerce-Themen. Ich fühle mich bei Acceleraid rundum super betreut.”
Christoffer Sinn Marketing Manager
“Die Acceleraid Technologie ist für uns eine optimale Lösung, um unsere Kreativ- und Performanceleistung automatisiert auszuspielen und die Conversion Rates weiter zu steigern.”

Bernd Stieber Geschäftsführer netzeffekt GmbH (JvM Gruppe)
Unsere Erfolgsgeschichten
Financial Services
65.000 TERMINVEREINBARUNGEN FÜR DIE BAUFINANZIERUNGSBERATER
Durch intelligente Webseiten direkt den richtigen Berater finden
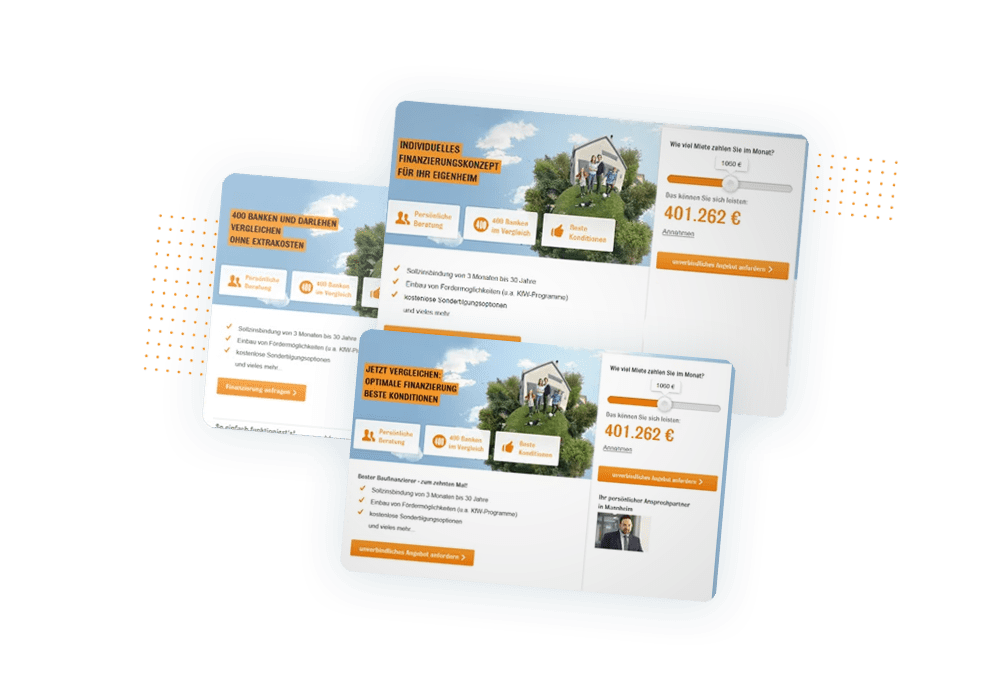
65.000 zusätzliche Termin-vereinbarungen
+20% mehr Terminvereinbarungen
30% schnellere Terminvereinbarungen
Financial Services
ZWEISTELLIGE STEIGERUNG DES KREDITKARTEN-VERKAUFS IN VIER LÄNDERN SEIT 2013
Durch KI-basierte Automatisierung der Kundenansprache, effiziente Partner-Onboardingprozesse und hochverfügbare Serverinfrastruktur
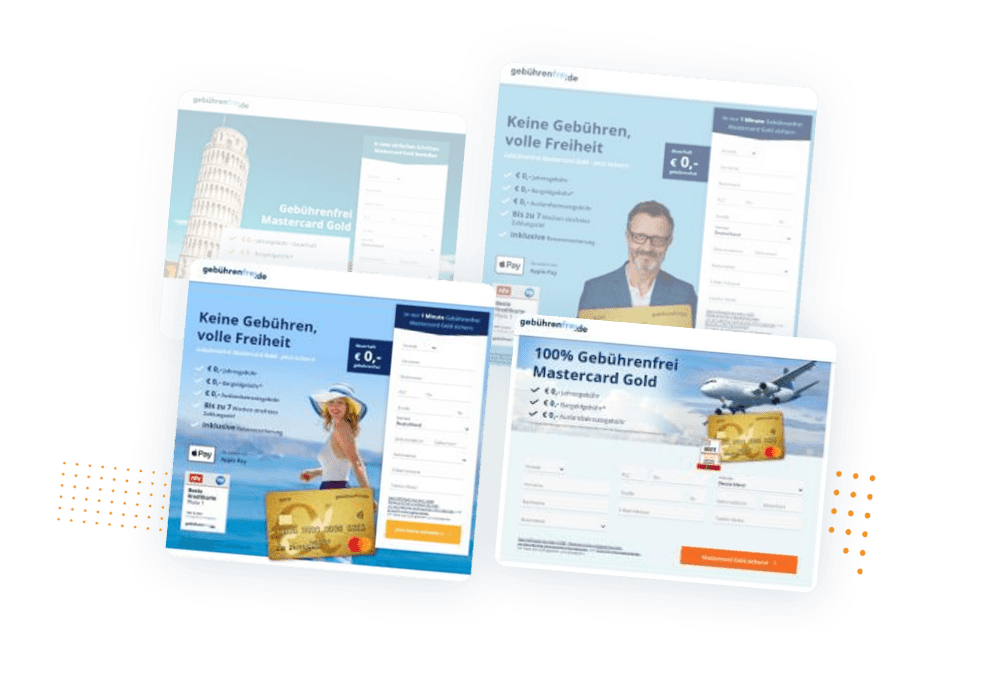
+25% mehr Kreditkarten- anträge
+38% mehr Zahlungsschutz- versicherungen
99,9% Server-verfügbarkeit
Financial Services
Ca.100 MIO. EURO ZUSÄTZLICHER KREDITKARTEN-UMSATZ
Durch personalisierte E-Mail-Automatisierung die passenden Inhalte ausspielen
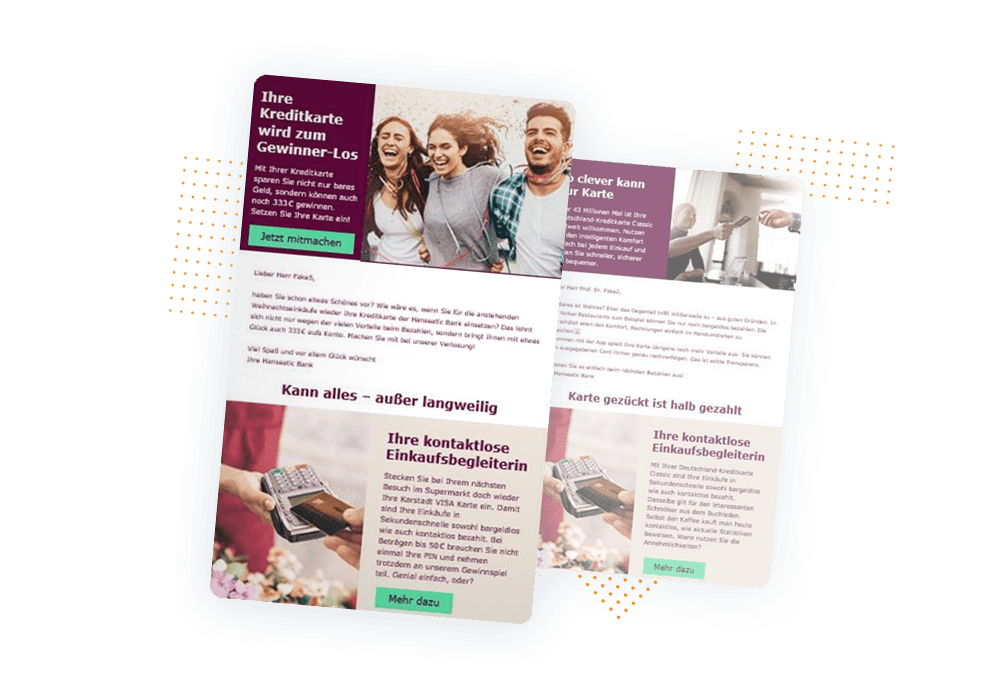
>100 Mio.€ Zusatz-umsatz
øUmsatz pro Nutzer verdoppelt
>10.000 Kündigungs- gefährdete Nutzer reaktiviert
Financial Services
WIE EIN ONLINE BROKER DURCH PERSONALISIERTE PRODUKTSEITEN MEHR ABSCHLÜSSE ERZIELT
Durch KI-basierte Optimierung die richtigen Inhalte für jeden Besucher
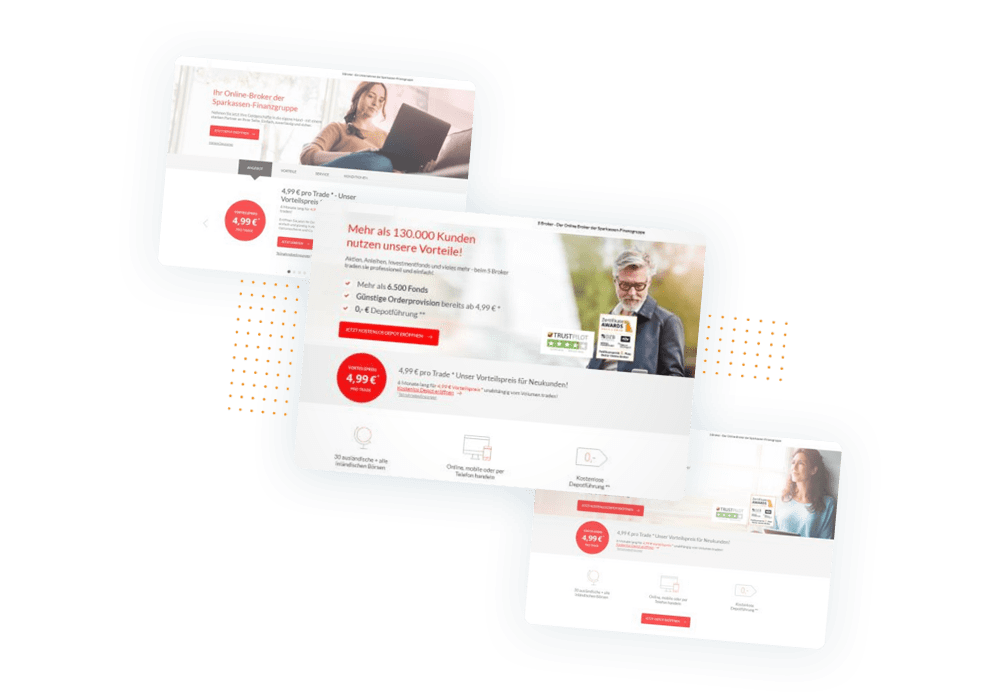
+40% Steigerung der Clickout-Rate
8.000 zusätzliche Einstiege in die Antragsstrecke
400 zusätzliche Abschlüsse
Financial Services
MEHR USER IN DIE ANTRAGSTRECKE FÜHREN
Produktverkauf steigern durch personalisierte Kundenansprache in der Internetfiliale
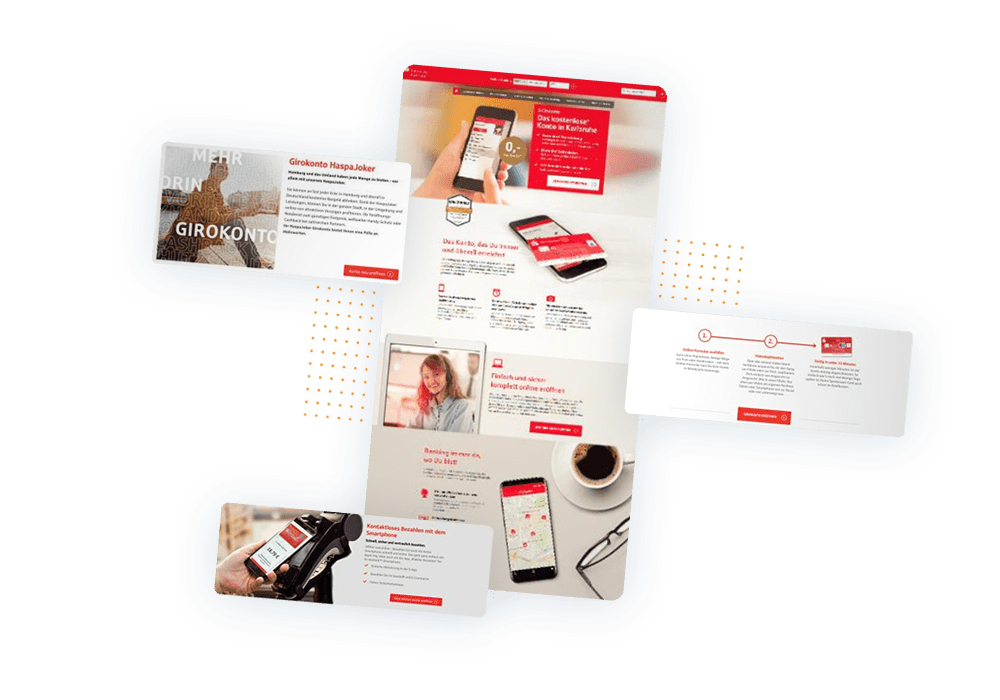
+120% mehr Kreditkartenanträge
+260% mehr Girokontoanträge
+200% mehr Terminanfragen für Baufinanzierung
Financial Services
ERHÖHTE KUNDENAKTIVIERUNG UND MEHR APP-DOWNLOADS DURCH AUTOMATISIERTE UND PERSONALISIERTE KAMPAGNEN
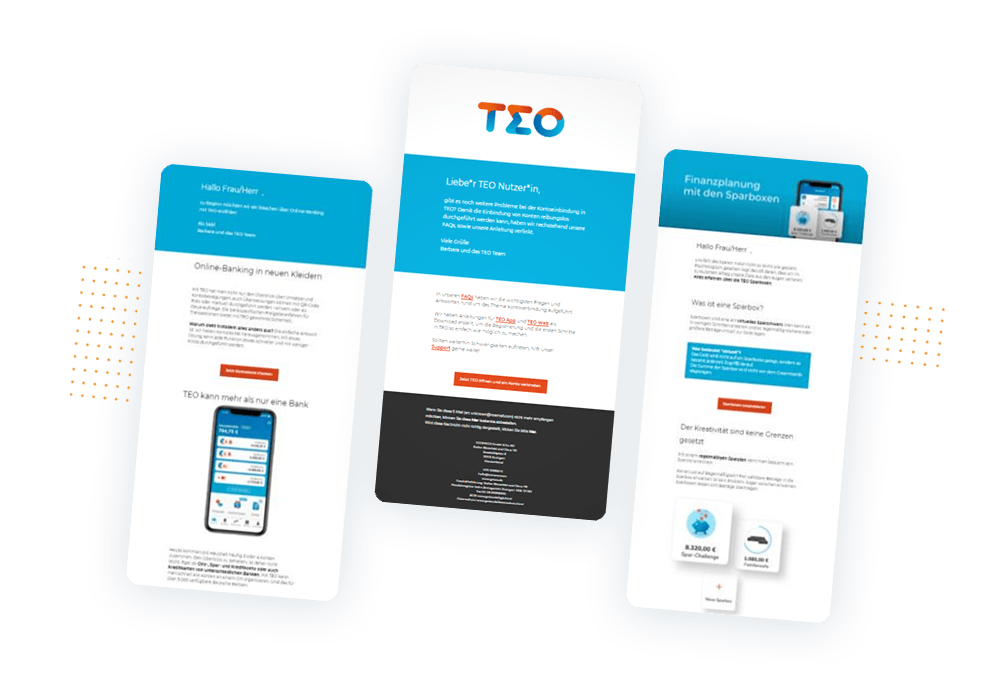
+120% mehr Konto aktivierungen
7.750 mehr verkaufte Voucher
+16% mehr positive App-Bewertungen
Telekommunikation
20% MEHR MOBILFUNKTARIF-ABSCHLÜSSE & 4% MEHR VERTRAGSVERLÄNGERUNGEN
Durch intelligente Automatisierung der Kundenansprache mittels KI
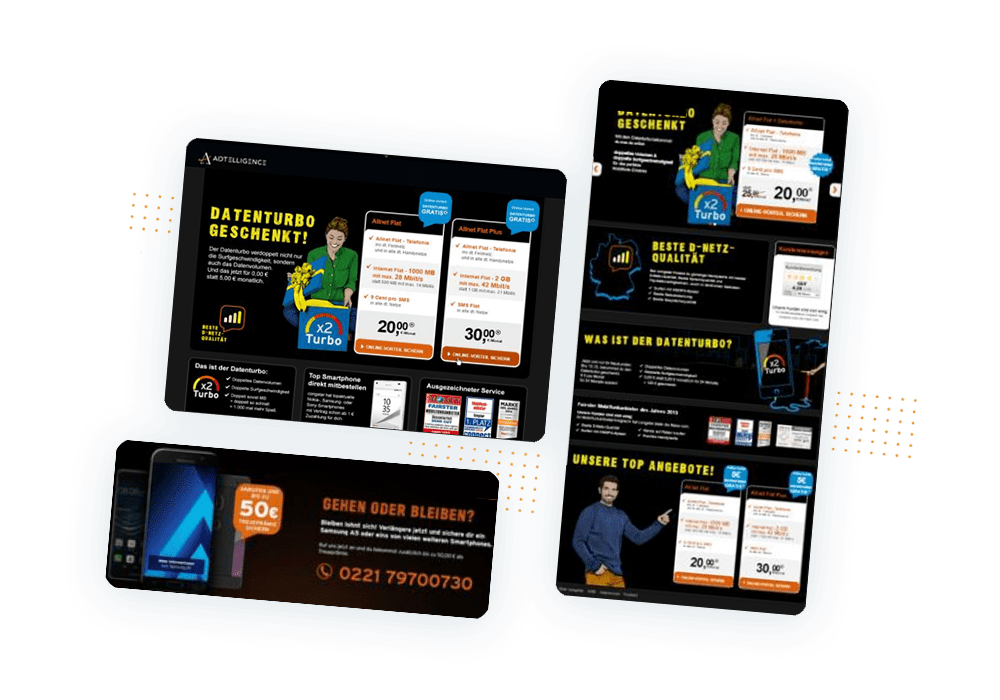
+20% mehr Mobilfunktarif- abschlüsse
+4% mehr Vertrags- verlängerungen
Besseres Verständnis der User Journey
Telekommunikation
32.000 VERTRAGSVERLÄNGERUNGEN UND 16.000 CROSS-SELLS FÜR EINEN FÜHRENDEN TELEKOMMUNIKATIONSANBIETER
Durch KI-basierte Optimierung die richtige Webseite für jeden Besucher
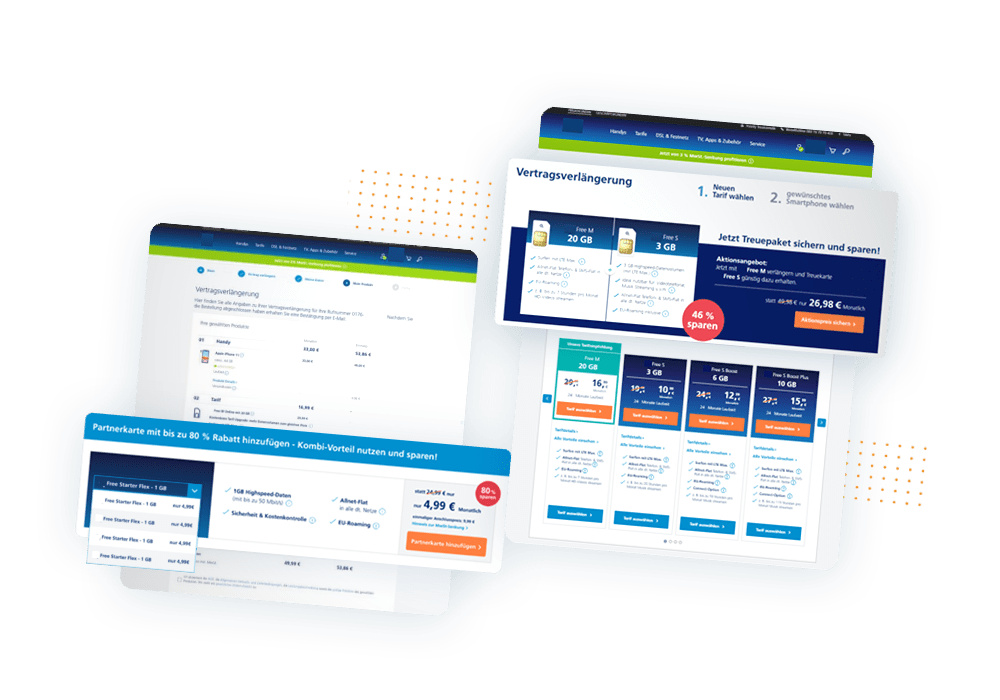
32.000 zusätzliche Vertrags-verlängerungen
+8% höhere Vertrags- Verlängerungs-Rate
16.000 zusätzliche Partnerkarten Cross-Sells
Automatisierung und Personalisierung der Kundenansprache entlang des Kundenlebenszyklus

Akquise

Onboarding

Aktivierung & Incentivierung

Cross & Up-Sell

Kundenbindung
Einfache Integration in jedes IT-System
Schließen Sie die Lücke zwischen Ihren (Kunden-) Datensystemen und der Marketing Automation, um Personalisierung und Next-Best-Action auf allen Kanälen zu orchestrieren.